How to Properly Use RV Rubber Roof Sealer? : Your Step-by-Step DIY Guide.
An RV is a significant investment, and keeping it in top-notch condition is essential. One of the crucial aspects of RV maintenance is roof care, particularly using an RV rubber roof sealer. This step-by-step guide will walk you through the process of selecting and applying the sealer, ensuring your RV roof stays in excellent condition for years to come.
The Importance of Roof Maintenance
The roof on your RV is constantly exposed to UV rates and weather, more so than any other part of the vehicle. And unlike a compact car, you can’t simply park your RV in a garage to protect it from rain, sun, or snow. Over time, prolonged exposure will eventually result in wear and tear, which can cause potential leaks or even a roof collapse. Regular maintenance, including the use of an RV rubber roof sealer, helps prevent such damage, preserving your investment.
Recognizing When Your RV Roof Needs Attention
Before you rush out to buy your sealing supplies, inspect your RV roof to assess its condition. You want to check the RV for specific signs of wear. This includes things like any cracks or leaks and obvious signs of weathering. Familiarize yourself with the roof’s structure as this will make the sealing process smoother.
Preparing the Roof for Sealing
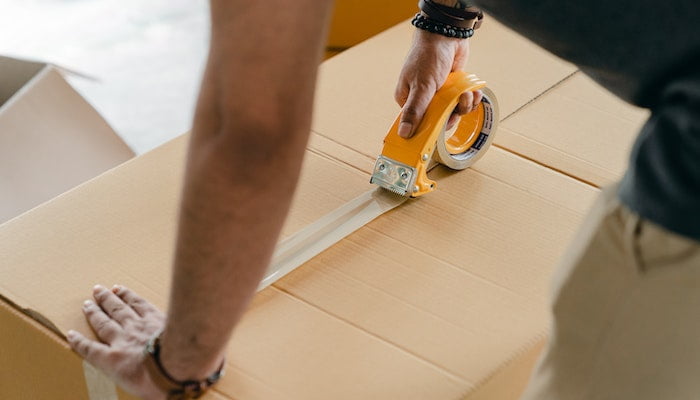
Preparation is key to a successful sealing process. First, clean the roof thoroughly using a cleaner specifically meant for rubber RV roofs. Because your RV roof can be sensitive to certain chemicals, you’re going to want to research the right cleaner beforehand. It’s important that you avoid any types of cleaners containing mineral spirits or petroleum distillates as they can cause damage.
After applying the cleaner, scrub the roof with a brush, rinse it off, and let it dry completely. A clean surface ensures the sealer adheres properly to the roof, rather than sticking to dirt or grime.
Selecting the Right RV Rubber Roof Sealer
With your RV roof cleaned and ready, it’s time to choose your sealer. Look for a product specifically formulated for RV roofs, like the Liquid Rubber RV Roof Coating. This product is specifically designed for RV roofs and contains safe, VOC-free ingredients that adhere well to your RV’s roof and provide lasting protection against the elements.
Applying the RV Rubber Roof Sealer
Begin applying the sealer from the roof’s edges, working your way towards the center. To get the most even coats, use tools like a roller or a brush and start with a thin coat and allow it to dry before applying a second one if desired.
For areas around antennas and vents, use a caulking gun to ensure the sealant gets into all the cracks and crevices. This attention to detail helps prevent future leaks that may be hard to detect.
Tips for a Successful Sealing Process
Here are a few additional tips to ensure a smooth and successful sealing process:
- Use painter’s tape to create clean edges and prevent the sealer from dripping onto the sides of your RV.
- Invest in a good quality roller brush with an extendable handle to save yourself from backache.
- Don’t hesitate to apply a second coat if you’re not satisfied with the thickness of the first one. The beauty of RV roof sealants is that you can add coats until you’re happy with the result.
Protecting Your Investment
Your RV is a large investment that gives you the freedom of travel and leisure. Make sure you take the necessary steps to protect this investment with regular inspection and maintenance. Don’t let your RV become a burden instead of a source of joyful memories. Learn how to use an RV rubber roof sealer effectively and keep your adventures going!